

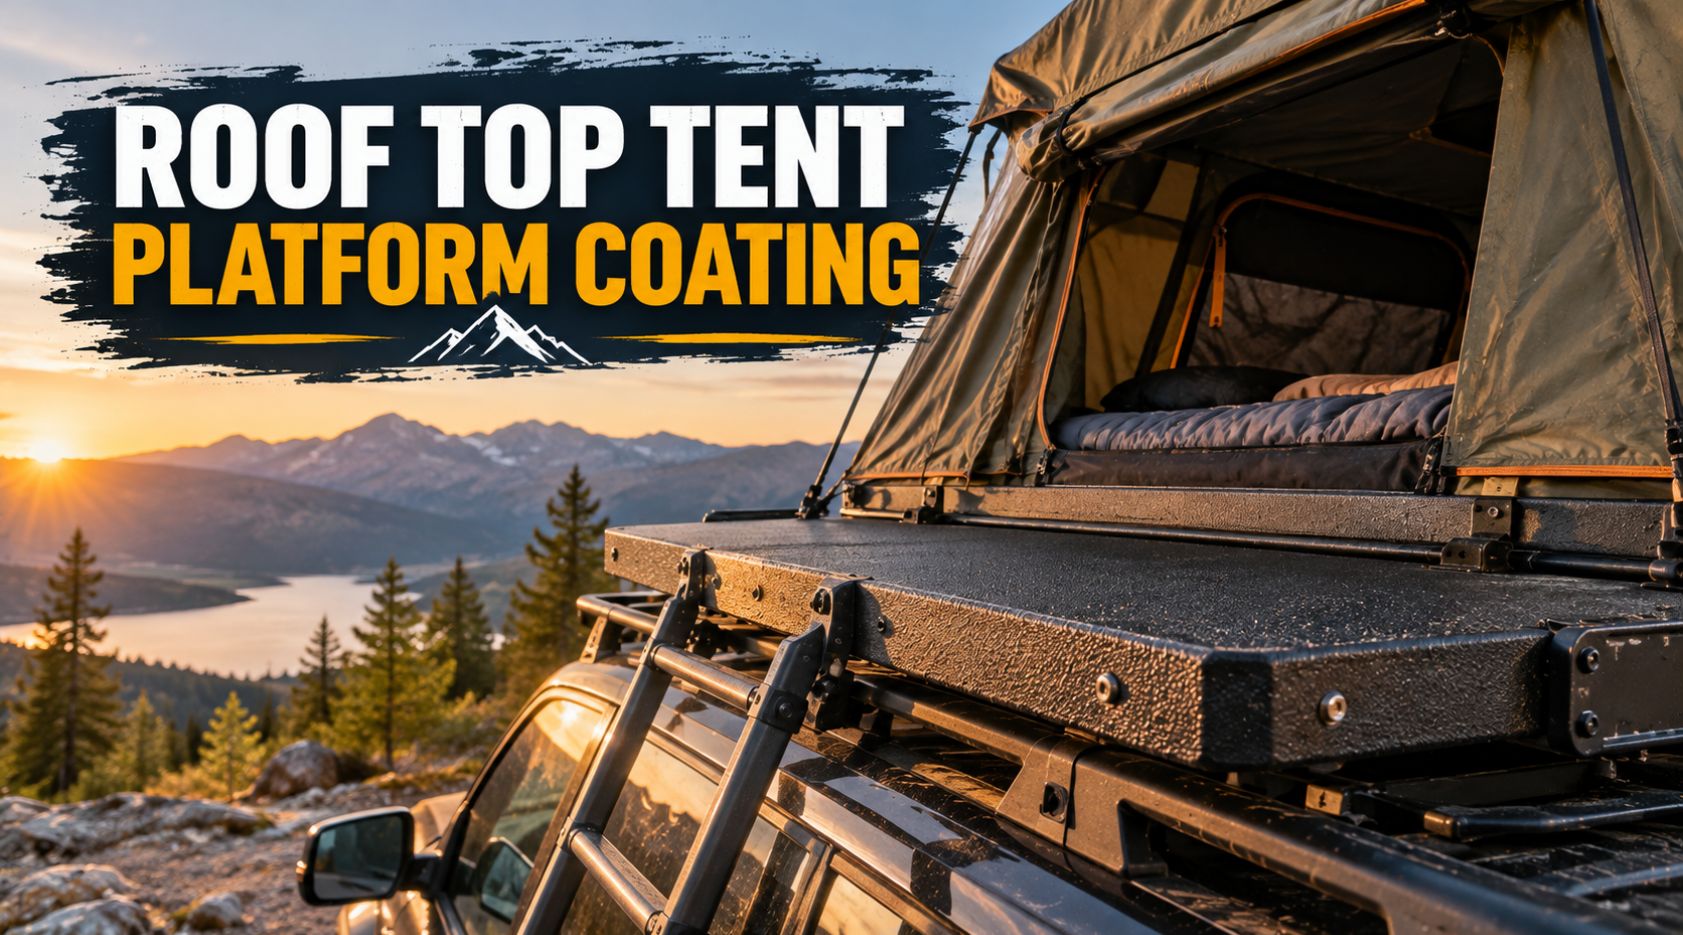
Nobody buys a roof top tent thinking about the platform underneath it. You’re thinking about the mattress, the ladder, the view from up there on a good morning. But that platform, whether it’s plywood you built yourself or an aluminum base that came with a rack system, is quietly taking abuse every single trip: trail vibration, condensation trapped under the tent floor, UV baking the exposed edges, and years of boots climbing in and out. Roof top tent platform coating has become a real consideration for a lot of overlanders precisely because that unglamorous base is often the first thing to fail, long before the tent fabric itself shows its age.
Why a Roof Top Tent Platform Needs Protection at All
A platform sitting exposed on a roof rack deals with more than people expect. Condensation is probably the biggest hidden threat. Warm air inside the tent meets a cold platform surface overnight, and moisture collects right at that interface, in exactly the spot where it’s hardest to see and dry out between trips. On a plywood platform, that repeated moisture exposure, especially at cut edges where the wood grain is exposed and ply layers can wick water, leads to swelling, delamination, and eventually rot if it goes unaddressed long enough.
Trail vibration is the other quiet killer. Mile after mile of washboard roads and rough tracks flexes the platform slightly with every bump, and that constant micro-movement works against fasteners, seams, and any coating or sealant that isn’t flexible enough to move with the material underneath. A rigid paint or varnish finish that looked fine in the driveway can crack along stress points after a season of actual trail use, right where the platform flexes most.
Then there’s straightforward wear and tear: boots and gear scraping across the surface every time the tent goes up or comes down, UV exposure on any edge or corner that sits outside the tent’s footprint, and the general abrasion of straps, hardware, and gear being loaded and unloaded trip after trip.
What a Spray Coating Actually Protects Against
A properly applied spray coating, typically a polyurethane or polyurea system similar to what’s used on truck bed liners, addresses several of these problems at once rather than solving just one. It creates a continuous waterproof membrane across the platform surface, including the vulnerable cut edges if applied correctly, which blocks the moisture intrusion that drives wood rot and delamination. Because these coatings cure into a flexible film rather than a rigid one, they move with the platform’s natural flex on rough trails instead of cracking the way a hard varnish or standard paint tends to. And a textured spray coating adds real slip resistance right where you need it most, under your boots while climbing a ladder onto a platform that might be wet, dusty, or both.
Comparing Protection Options
| Factor | Bare or Unfinished | Painted or Varnished | Spray Coating (Polyurea/Polyurethane) |
|---|---|---|---|
| Moisture protection | None, absorbs water directly | Moderate, prone to chipping and edge failure | Strong, continuous waterproof membrane |
| Flexibility under vibration | Not applicable | Low, cracks at flex points over time | High, moves with the platform |
| Slip resistance | Poor, especially when wet | Poor unless textured additive used | Good, texture can be built into the coating |
| UV resistance | Poor | Moderate, fades and chalks over time | Good, especially with a UV-stable topcoat |
| Added weight | None | Minimal | Light, generally not a significant factor |
| Edge and seam protection | None | Weak, edges are the first failure point | Strong when properly applied to all edges |
What This Means for Your Build
If you’re building your own platform from plywood, the edges deserve more attention than the flat surfaces do, since that’s where moisture finds its way in first. A spray coating applied generously around every cut edge, not just rolled across the top and bottom faces, addresses the actual failure point rather than just the visible surface. If you’re working with an aluminum or composite platform, corrosion is less of a concern than it is with wood, but abrasion resistance and slip protection still matter just as much, particularly at the ladder mounting point and anywhere gear gets dragged across the surface repeatedly.
Hardware penetrations are worth planning for before you coat, not after. Any bolt holes, rack mounting points, or hinge hardware should ideally be drilled and test-fitted first, then sealed as part of the coating process, so you’re not creating a fresh, uncoated entry point for moisture the first time you modify the platform after the fact. If you do need to drill into an already-coated platform later, reseal that specific area promptly rather than leaving bare material exposed at the new penetration.
For a broader look at how spray-applied coatings hold up specifically in overlanding use, including how these systems perform under the kind of trail conditions and exposure a build like this actually sees, our piece on vehicle blast mitigation coatings for overlanding vehicles covers the underlying coating technology in a higher-stakes application, which gives a sense of just how much abuse this general category of coating is built to handle.
DIY vs. Professional Application
A lot of overlanders building their own platforms are comfortable tackling the coating step themselves, and it’s a genuinely reasonable DIY project for someone with basic spray equipment and a well-ventilated space to work in. The keys to a good DIY result are proper surface preparation, sanding the platform to give the coating something to grip, cleaning off dust and oils thoroughly, and taking the time to get full, even coverage at every edge and corner rather than rushing the flat areas and skimping on the details.
Professional application makes more sense if you want a specific textured finish that’s hard to replicate with basic equipment, if you’re coating multiple platforms at once, or if you’d simply rather hand the job to someone with the spray equipment and experience to guarantee even coverage on the first attempt. Either route gets you to a protected platform. The DIY route costs more time and a bit of a learning curve. The professional route costs more money but removes the guesswork.
Polyurea or Polyurethane: Does the Chemistry Matter Here
Most spray-on coatings marketed for this kind of application fall into one of two broad categories, polyurea or polyurethane, and the two behave a little differently in ways that matter for a roof top tent platform specifically. Polyurea cures extremely fast, often within seconds to a couple of minutes depending on the formulation, and tends to handle temperature swings and moisture during application better than polyurethane does. Polyurethane generally cures slower and can be more sensitive to humidity while it’s setting up, but some formulations offer excellent UV stability and flexibility in their own right.
For a DIY platform build, this distinction matters less than you might expect. Both chemistries, when properly applied by someone following the product’s actual instructions, produce a durable, flexible, waterproof film suitable for this application. What matters more in practice is film thickness, how thoroughly the edges and penetrations were covered, and whether the specific product includes UV stabilizers if the platform will see regular direct sun exposure. Rather than getting stuck comparing polyurea against polyurethane in the abstract, it’s more useful to look at the specific product’s documentation for cure time, recoat window, and UV performance, and choose based on which one fits your working conditions and timeline for the build.
Things to Consider Before Coating Your Platform
Prep the surface properly before anything else. A coating only bonds as well as the surface underneath allows. Sanding, cleaning, and making sure the platform is fully dry before coating matters more than which specific product you choose.
Don’t skip the edges. The flat top and bottom surfaces of a platform are the easy part. The cut edges, corners, and any hardware penetrations are where moisture actually gets in, and they need deliberate, generous coverage, not an afterthought pass with whatever’s left in the gun.
Think about texture, not just waterproofing. A smooth coated surface looks clean but can get genuinely slippery when wet or dusty. A textured finish, similar to what you’d find on a truck bed liner, makes a real difference in grip when you’re climbing a ladder onto the platform in the dark or in bad weather.
Account for weight if you’re already pushing your roof load limit. A quality spray coating adds minimal weight compared to the platform itself, but if you’re building a heavier setup already close to your rack’s rated capacity, it’s worth factoring into your overall weight budget alongside everything else mounted up top.
Plan for occasional touch-up, not a one-and-done application. High-wear spots, the ladder mount area and any corners that take regular abrasion, will show wear before the rest of the platform does. Catching that early with a touch-up coat is a lot less work than waiting until moisture gets underneath a worn-through spot.
Maintenance Over the Life of the Platform
A coated platform holds up well with minimal upkeep, but it’s still worth a visual check at the start and end of each season, looking specifically at high-traffic areas like the ladder mount, corners, and any spot where gear regularly contacts the surface. Catching a worn or scratched-through area early and touching it up keeps the underlying material protected. Letting it go until moisture actually gets underneath turns a small touch-up job into a bigger repair, particularly on a wood platform where trapped moisture can cause real damage before it’s visually obvious from the outside.
Frequently Asked Questions
Does a spray coating actually stop condensation from forming under a roof top tent?
It won’t prevent condensation from forming, since that’s a function of temperature and humidity, but it does stop that moisture from being absorbed into the platform material itself, which is what actually causes long-term damage like wood rot.
Can I apply a spray coating to an existing platform, or does it need to be done before assembly?
It can generally be done either way, though coating individual pieces before final assembly makes it easier to get full, even coverage on every edge, including ones that become harder to reach once the platform is fully built and mounted.
Is a textured coating necessary, or is a smooth finish fine?
A textured finish isn’t strictly necessary, but it adds meaningful slip resistance for a surface you’re regularly climbing on, especially in wet or dusty conditions, which makes it worth the small added cost for most builds.
How much does a spray coating add to the weight of a roof top tent platform?
Generally very little relative to the weight of the platform material itself. It’s rarely a significant factor in overall roof load calculations unless you’re already right at your rack’s weight limit.
Will a spray coating stop a plywood platform from eventually rotting?
A properly applied coating that fully covers the surface and edges dramatically reduces the moisture exposure that causes rot, but it’s not an absolute guarantee forever, particularly if the coating gets damaged and isn’t promptly repaired, exposing bare wood underneath.
Conclusion
Roof top tent platform coating is one of those upgrades that doesn’t show up in any photo of your rig but matters enormously for how long that platform actually lasts under real trail conditions. Moisture, vibration, UV, and plain wear all work against an unprotected surface, and a properly applied, flexible spray coating addresses all of it at once rather than solving just one problem. Whether you tackle it yourself or hand it to a professional, the details that matter most are the same: thorough surface prep, real attention to the edges and hardware points, and a coating product built to flex rather than crack under the vibration your platform is going to see on every single trip.