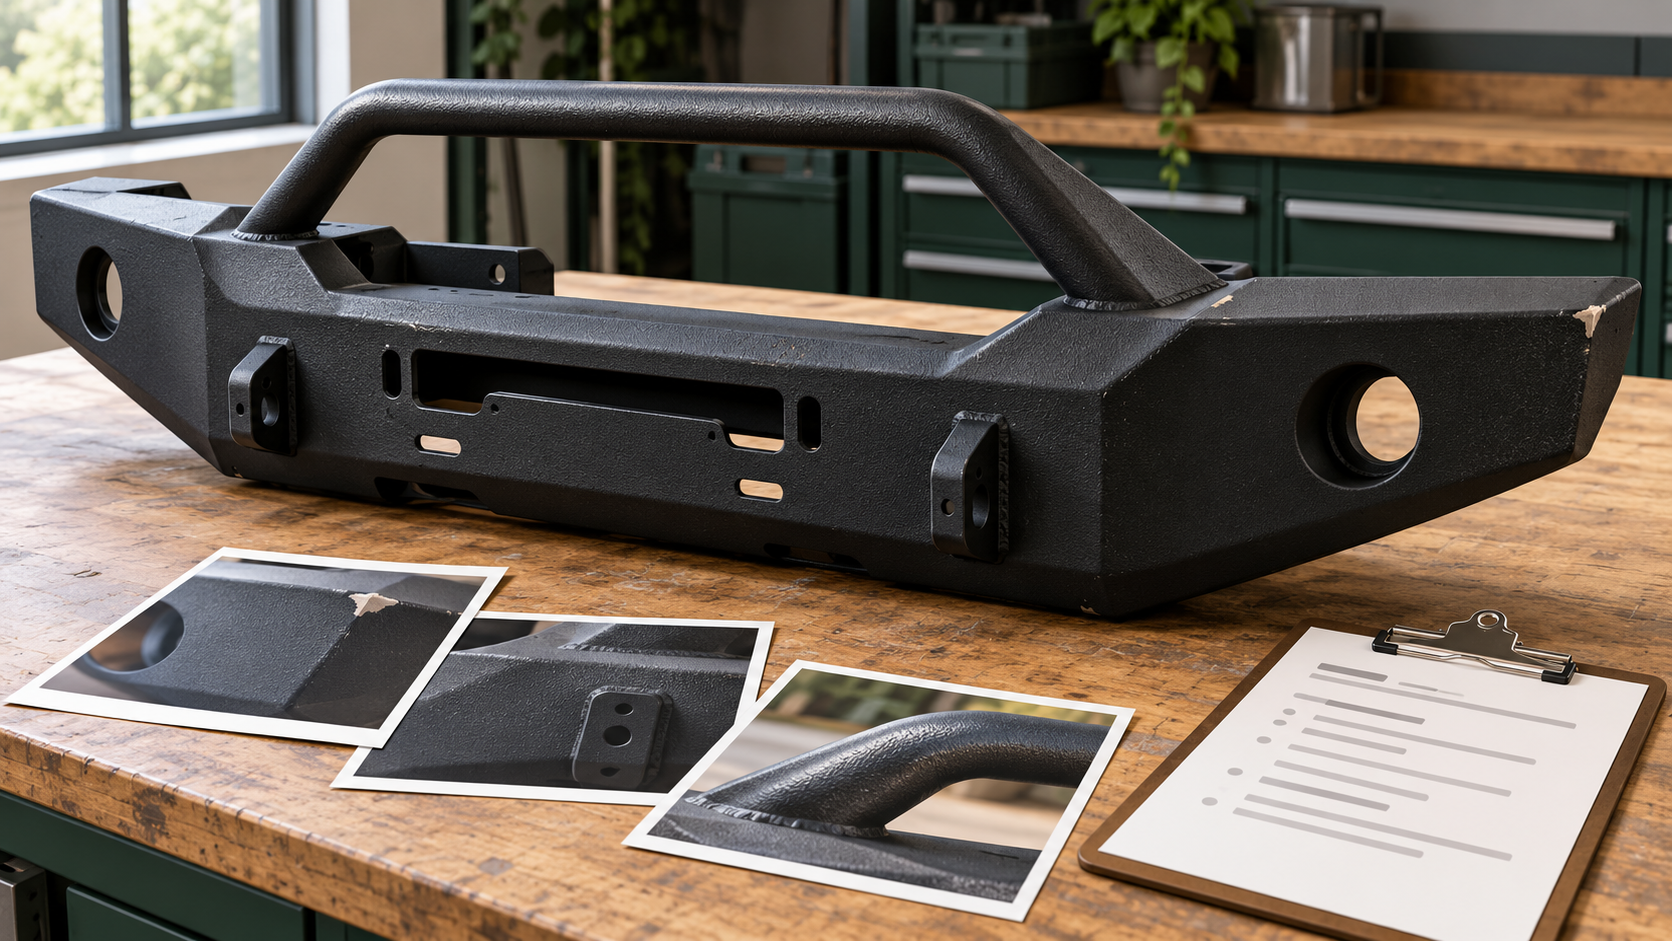
A black bumper is not a coating specification. Before asking a shop to refinish an off-road bumper, collect the records that explain what is already on it. That small step can turn a vague request to “make it tougher” into a useful discussion about the existing finish, previous repairs and the work being proposed.
This is a documentation checklist for owners, not a stripping or spray-application procedure. A finish assessment also does not establish whether a damaged bumper, mounting system or recovery component is safe to use.
Start with the bumper, not the vehicle paint code
Record the bumper manufacturer, part number, approximate installation date and installer. Save the invoice and fitting instructions if available. An aftermarket bumper can have its own finish specification, separate from the vehicle body color.
Color matching adds another possibility. For example, ARB offers a custom-color finishing service and directs customers to confirm application details with its dealer. That illustrates why a catalog photograph cannot establish the finish on a particular installed part. Ask whether yours was supplied in its standard finish, painted before delivery or refinished later.
If a previous owner supplied no paperwork, write “finish history unknown.” Do not convert a guess based on texture into a confirmed identification.
Build a short finish history
List known repairs in date order. Include the product name, who performed the work and which area was treated. A receipt for a touch-up aerosol, a shop invoice and a photograph taken before installation can each answer a different question.
Keep the underlying factory finish and later touch-ups separate in the record. Expedition One’s powder-coat care guidance, for example, discusses liquid-paint touch-ups to its powder-coated products. A repaired surface therefore need not have the same material at every visible location. Its recommendations concern its products; they are not automatic approval for an unknown bumper or a different proposed coating.
Also note cleaners, waxes, polishes and other surface treatments you remember using. Give the shop product labels where practical, rather than selecting a solvent yourself to remove unidentified residues.
Photograph condition without changing it first
Take an overall view that identifies the bumper, followed by closer images of each concern. Use consistent location descriptions such as “driver-side outer corner” and include a nearby feature so the shop can find the spot. Save the date with the photographs.
Describe what you see: a chip, lifted edge, discoloration, scrape or rust-colored staining. Keep observations separate from conclusions about adhesion, corrosion depth or the cause of failure. A photograph can support a conversation; it cannot show the condition beneath an intact finish.
Follow the applicable manufacturer care instructions for routine cleaning. Opposite Lock’s care guidance calls for regular inspection and prompt attention to finish damage on its protection products. If you may need a warranty assessment, ask the supplier what documentation it needs before sanding, stripping or otherwise changing the evidence.
Separate appearance from equipment condition
Tell the shop about impacts, unusual movement or suspected damage around mounts and welds. Ask the appropriate vehicle or accessory specialist to assess those concerns before a cosmetic refinish. Fresh coating should not become a way to conceal a question that remains unresolved.
Identify attached accessories, sensors, wiring, labels and mating surfaces in the scope discussion. Have the installer and coating specialist agree which areas require protection from coating and which components need removal or separate handling under their instructions. Do not assume every surface should receive the same coating thickness.
Ask for a written proposal tied to the record
Request a proposal that identifies the condition the shop has actually assessed, the intended coating system and any further inspection needed before a final price. Ask whether the existing finish will be retained or removed, who determines compatibility, and how discoveries after preparation will be handled.
Record the expected appearance, any color or texture limitations, the manufacturer’s return-to-service requirements and the care information you will receive. A sample can help communicate appearance, but it does not prove that a system is suitable for the installed assembly.
Keep the completed invoice, product information and after-work photographs with the original record. The next repair discussion should begin with known materials and locations, rather than another guess about what “textured black” means.
Cover: original AI-generated conceptual illustration, not a repair procedure.