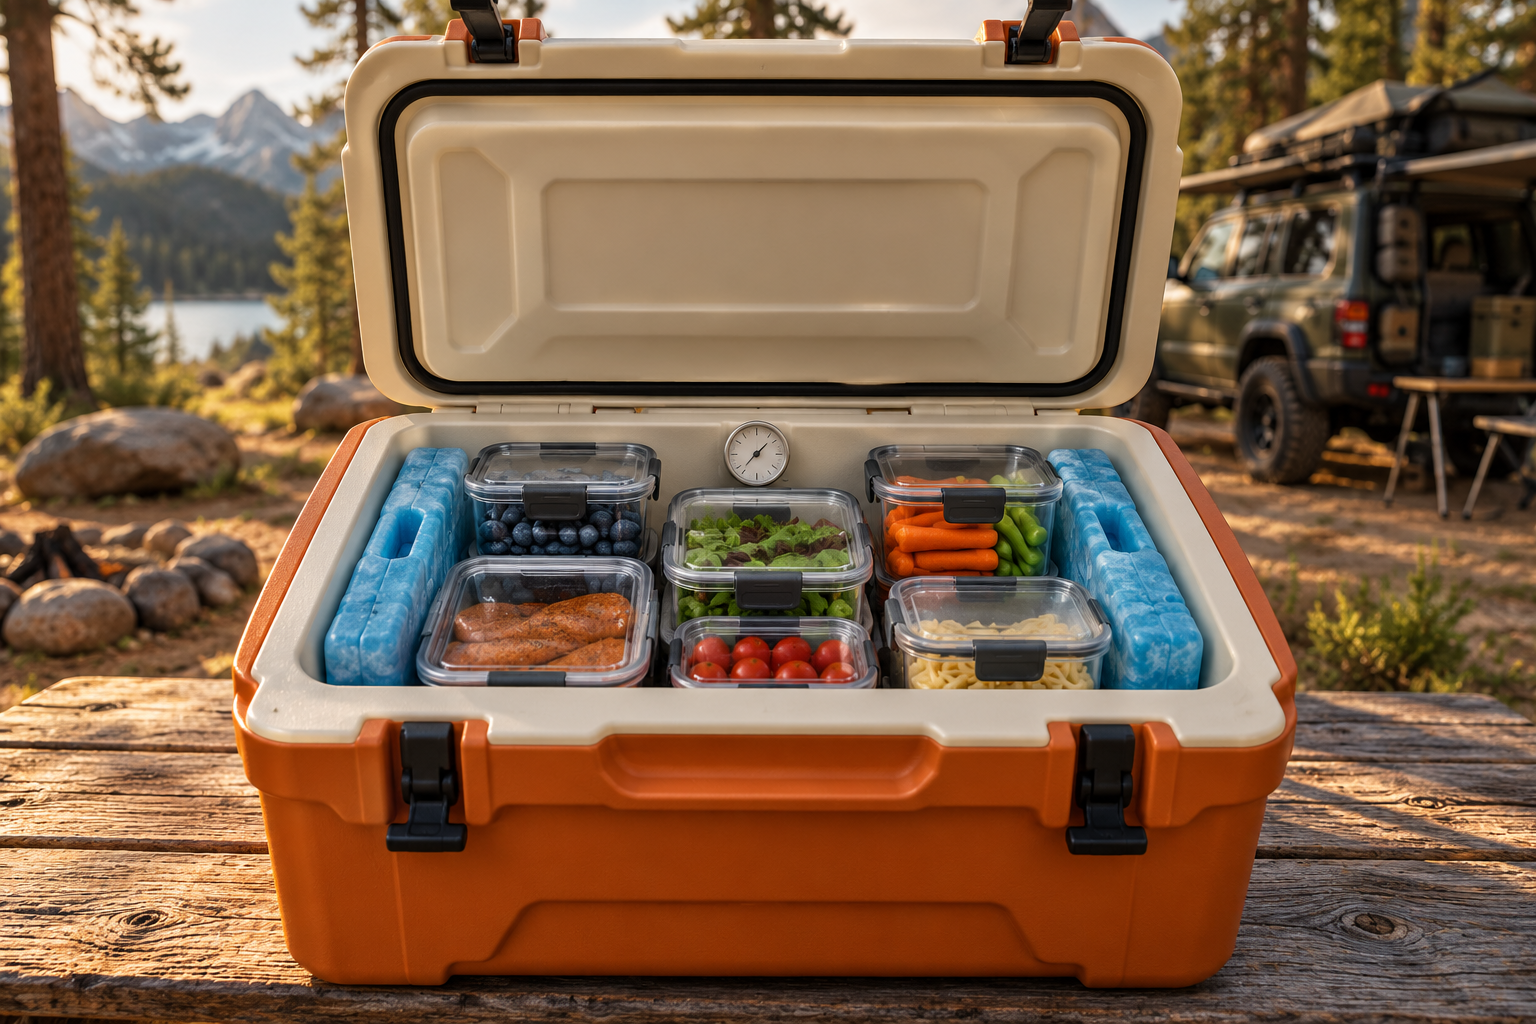
A cooler’s advertised ice life does not tell you whether the food inside stayed at a safe temperature throughout a trip. Packing, repeated opening, outside conditions and the way you replenish ice all change the situation. A useful overlanding food plan starts with a thermometer and a resupply decision, rather than a promise on the cooler label.
This is researched trip-planning guidance, not a hands-on cooler comparison. The central reference is USDA food-safety guidance. Follow current instructions for the foods you carry, and choose shelf-stable alternatives when reliable cold storage is not practical.
Plan around food temperature
USDA’s cooler guidance recommends an appliance thermometer to check that cold food is held at 40°F or below. It also gives the familiar limit for perishable food left unrefrigerated: two hours, shortened to one hour when the temperature is above 90°F. These are food-safety limits, not targets for how long to leave lunch out.
Put a suitable thermometer where you can read it without unloading everything. Check its instructions and make sure the display or dial is usable in your setup. The fact that some ice remains, or that a drink feels cold, does not document the temperature history of every perishable item.
Build the menu before filling the cooler
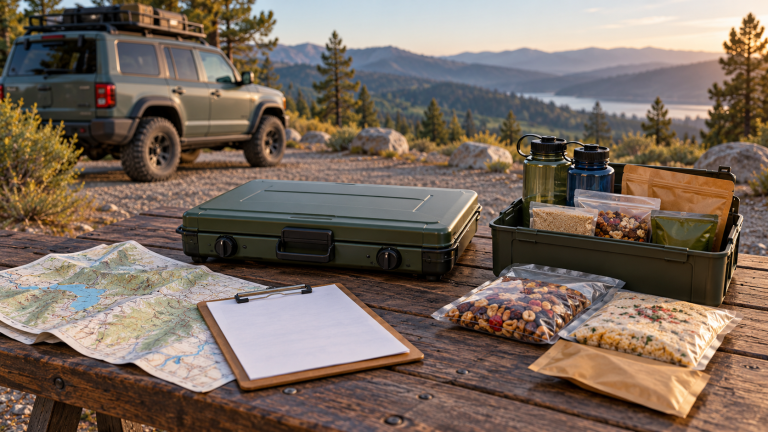
Write down how many meals require refrigeration and when each will be eaten. A short first-night menu can be quite different from a multiday route far from an ice supply. Keep the plan simple enough that you are not repeatedly searching through the cooler for ingredients.
Identify one or two meals that can remain shelf-stable according to their labels. Those backups give you a practical choice if you cannot maintain cold storage or the route changes. They are especially useful when a planned shop is closed or a detour removes an expected resupply stop.
Do not assume that “shelf-stable” continues to apply after opening. Check the package instructions and choose portions that fit the meal. This also reduces the number of partly used containers competing for cooler space.
Pack cold food and protect ready-to-eat items
USDA’s hiking and camping guidance recommends starting with cold food, using adequate cold sources and protecting other foods from raw meat juices. It also advises keeping the cooler closed and shaded. Where practical, separate raw foods from ready-to-eat items and keep raw packages securely contained.
Arrange meals in the order you expect to use them. Group ingredients so one opening retrieves most of what you need. If drinks are being accessed constantly, a separate drinks cooler can reduce disturbance to the food supply. That is a packing strategy, not proof that the food cooler will remain within limits; keep checking the temperature.
Make checks part of stops you already take
Choose sensible opportunities to read the thermometer: before departure, at meal stops, after a long hot driving section and when replacing ice. Record a reading if it will help you keep track. Avoid turning a convenient schedule into an assumption that conditions between readings were necessarily safe.
If a reading is unexpectedly high, think about the food’s actual exposure and what you know about the preceding period. A new bag of ice cannot undo earlier unsafe storage. When the time and temperature history are uncertain, use authoritative food-safety guidance rather than relying on a taste test or wishful estimates.
Decide where ice enters the route
Mark realistic resupply opportunities alongside fuel and water stops. Confirm opening hours when those stops are critical, and allow for route delays. Leave enough accessible space to replenish the cold source without unpacking food onto a dusty campsite table for a long period.
Reassess the remaining menu if resupply fails. The useful question is not whether the cooler can make it another day in theory. It is whether the food can continue to be held under the conditions it requires. A backup meal makes that decision easier without pressuring you to use questionable perishables.
Review the plan after the trip
Keep a brief note of what worked: useful thermometer placement, realistic ice stops, ingredients that were awkward to retrieve and meals that created leftovers. Do not turn one successful trip into a universal performance claim about the cooler. Different weather and packing can produce different results.
A dependable food routine is deliberately unglamorous. It combines an appropriate cold source, measured temperature, protected packaging and a menu that can change. That is more useful on a remote route than treating a cooler’s capacity or advertised ice retention as a food-safety guarantee.