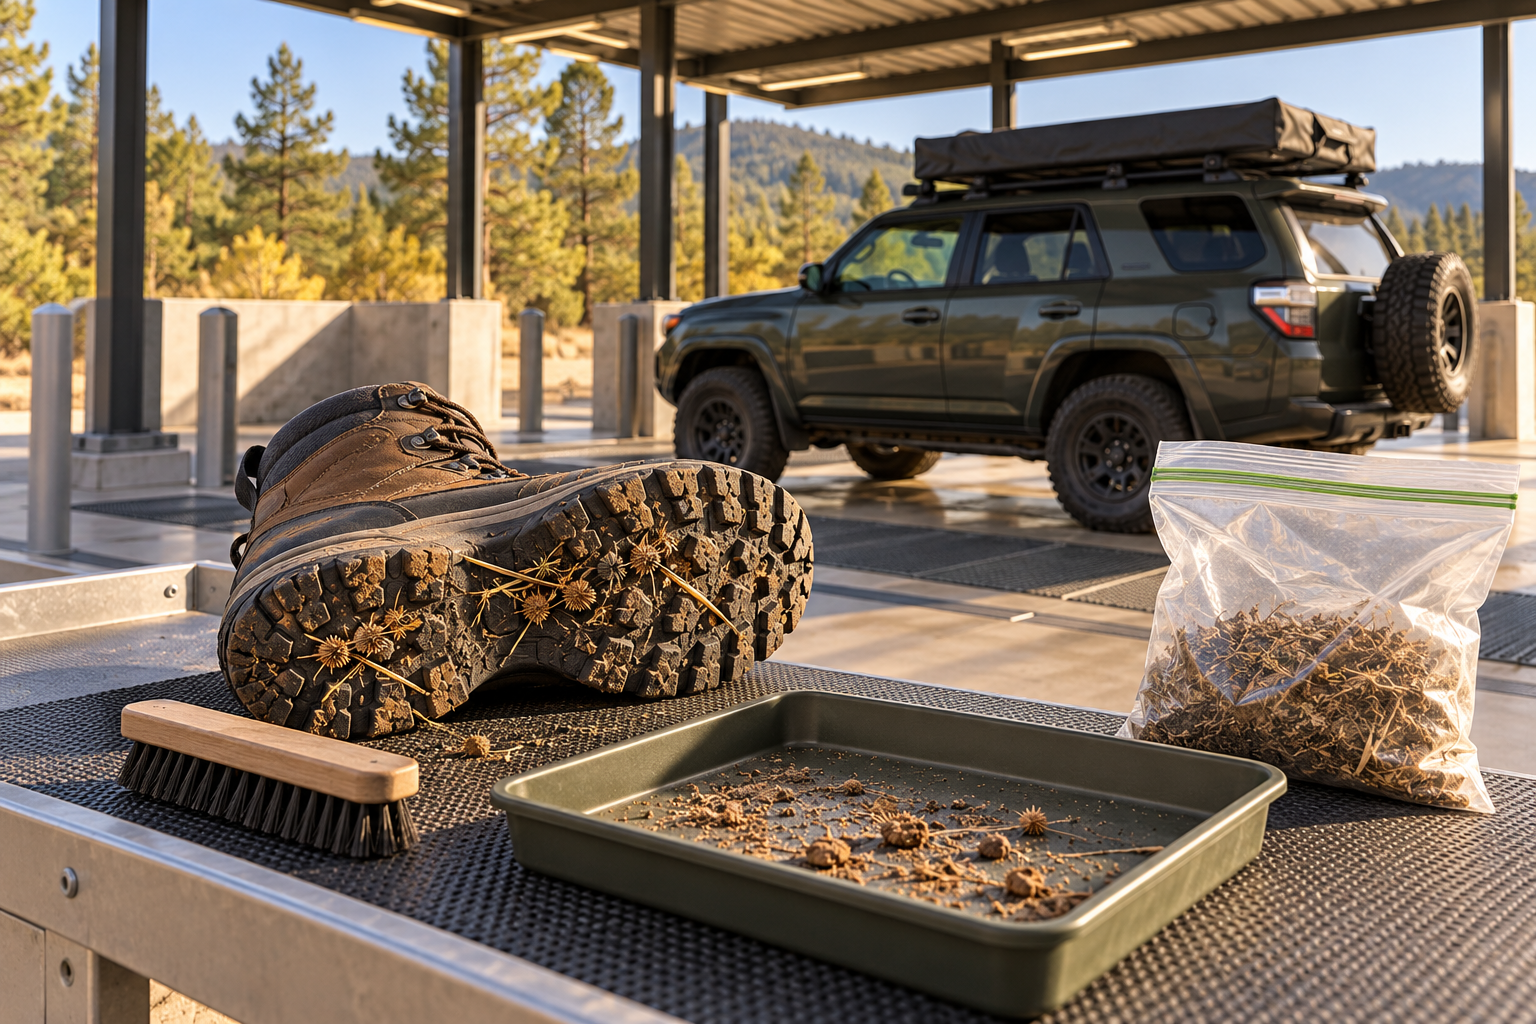
On a trip that links several trail areas, cleaning belongs between destinations. Mud packed behind a wheel liner, burrs in a boot lace, and seeds caught in a camp chair can travel with the whole convoy. Waiting until the driveway at home leaves plenty of opportunities to carry that material somewhere new.
This guide focuses on reducing the movement of invasive plants during vehicle-based travel in the United States. It is a practical planning checklist, not a vehicle-decontamination certification. Destination-specific cleaning instructions and your vehicle and equipment manuals take priority.
Check the instructions for both ends of the move
Before departure, check the land manager’s current invasive-species information for the area you are leaving and the next destination. Look for required cleaning locations, inspection procedures, temporary restrictions, and disposal directions. Save the relevant instructions with your route information so they remain available without service.
The National Park Service’s prevention guidance recommends checking a park’s website or visitor center for current invasive-species issues. A general checklist cannot settle a local concern. If the instructions are unclear, ask the managing office where a mud-covered vehicle should be cleaned before moving onward.
Make the cleaning stop part of the day’s mileage and timing. A plan that requires arriving at the next trailhead first has put the checkpoint too late.
Inspect the rig without creating another hazard
Park in a permitted, stable location away from traffic, secure the vehicle according to its manual, and shut it down. Keep clear of hot components. Use a flashlight from outside the vehicle to look for accumulated mud and vegetation; do not crawl underneath an unsupported vehicle or raise it just to complete this check.
Work around the same points each time: tire tread, wheel wells, mud flaps, accessible steps and bumper recesses, cargo areas, and externally carried equipment. Include the trailer if you have one. Note deposits beneath the vehicle that need a properly equipped cleaning facility rather than reaching blindly into hidden spaces.
Nevada’s official OHV guidance specifically calls for cleaning tires and undercarriages before entering and leaving recreation sites. A clean hood tells you little about those less-visible areas. If you cannot safely see or reach an accumulation, treat it as unfinished work.
Choose a cleaning location that handles the debris
Use the land manager’s designated vehicle-cleaning facility when one is provided. Otherwise, identify a suitable commercial wash that accepts muddy off-road vehicles and can accommodate your rig’s height, accessories, and trailer. Check with the operator before entering; a roof tent or heavy mud load may rule out an otherwise convenient bay.
The EPA recommends commercial car washes because they must properly dispose of wastewater, and many filter and reuse it. For this task, confirm that the facility can handle the material you need removed. Do not improvise a wash beside a stream, at a campsite, or over a storm drain.
Follow the facility’s directions and the cleaning limits in your vehicle and accessory manuals. There is no single pressure, nozzle distance, cleaner, or water temperature appropriate for every overlanding build. Ask for qualified help when cleaning requires access you cannot safely achieve. Recheck the visible accumulation points before leaving the facility.
Clean what rides inside, too
USDA APHIS advises cleaning outdoor gear before leaving an area, removing dirt and plant material from footwear, clothing, and equipment, and cleaning soil from vehicle tires before travel. Use a provided boot-cleaning station according to its instructions. Pay attention to tread grooves, laces, cuffs, and the gear bags that sat on the ground.
Check chair feet and fabric folds, tent groundsheets, camp mats, and recovery equipment before packing. Keep uncleaned items separate from cleaned gear until you can finish. The NPS also recommends removing plant material from camp accessories before leaving a campsite.
Vacuum loose material from the cab and cargo area at an appropriate facility, including beneath removable floor mats. Clean the mats without scattering their contents onto the parking area. Refit them securely before driving: NHTSA warns that incorrectly installed mats can interfere with the pedals.
Control what you remove
Follow local disposal instructions for collected seeds and plant fragments. The Department of the Interior’s project biosecurity protocol recommends securing seeds removed from personal gear in a bag or similar container for trash disposal rather than dropping them elsewhere. Although written for project work, that containment principle is useful for travelers.
Carry a brush and sealable debris bag where you can reach them before loading the vehicle. Use an appropriate catch surface when brushing personal gear away from an installed station. Keep removed material contained until approved disposal; do not empty the bag at the next camp.
Make the next arrival a clean one
Before moving on, confirm three things: the vehicle’s visible deposits have been addressed, personal and camp gear are clean, and collected debris is contained. In a group, each driver should check their own rig and passengers’ equipment.
Then avoid picking it all up again. Michigan’s invasive-species guidance recommends staying on designated trails and, where possible, parking away from vegetation. Reinspect after another muddy section. The useful habit is a repeated check at each transition, with enough flexibility to finish cleaning before entering another trail area.
Researched planning guidance. Follow current manufacturer and relevant authority instructions. Cover: original AI-generated conceptual illustration.