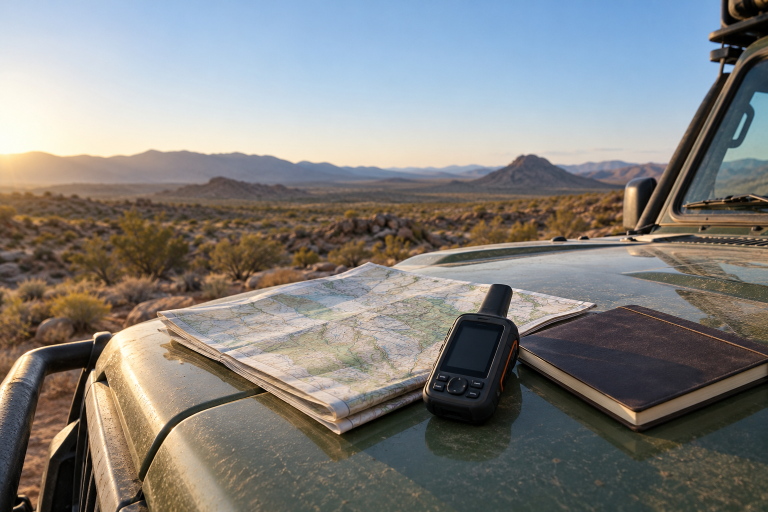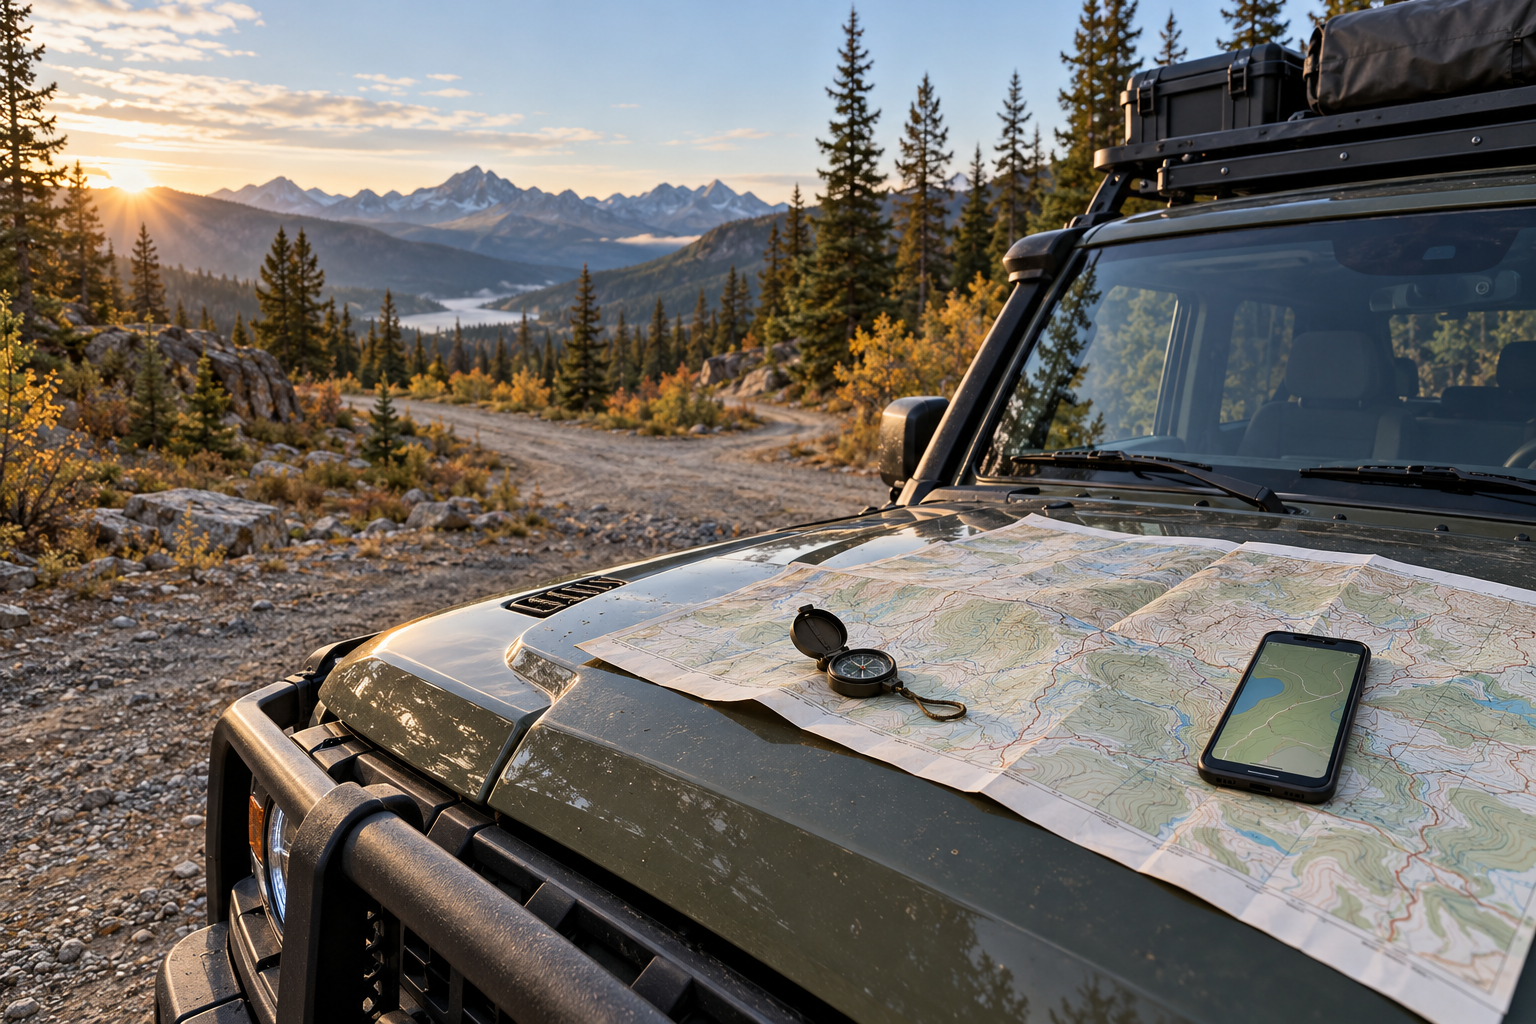
A route is ready for a remote trip when you can follow it, check its access restrictions and find a sensible way out without a phone signal. That takes more preparation than saving a destination pin. Build a small navigation package that includes downloaded maps, current land-manager information, alternate exits and a backup you can use if your primary device fails.
This checklist focuses on vehicle travel in the United States, particularly national forests. Access rules vary between forests, parks, state lands and private property, so confirm the requirements for every part of your route.
Start with the official access map
For a national forest that publishes a Motor Vehicle Use Map, download the current MVUM from that forest’s official website. Read its legend and accompanying tables. Vehicle class and season matter: a route available to a motorcycle or narrow off-highway vehicle may be unsuitable or closed to a full-size pickup. The Forest Service’s Gifford Pinchot map guidance explains how these maps identify permitted motorized routes and their seasons of use.
Save the entire document, including notes. Some map products leave out information: the Gifford Pinchot National Forest’s MVUM page, for example, warns that its GPS-enabled version omits a reference table included in the PDF and printed editions. Check for similar limitations in your destination’s downloads.
Keep a topographic or visitor map alongside the access document. Use it to understand terrain, junctions and surrounding roads while referring to the official access information when deciding where you may drive.
Check conditions separately from route designation
A designated route can still be obstructed, damaged or temporarily closed. The Gifford Pinchot current-conditions page warns that forest roads can be impassable and directs visitors to check alerts, forecasts and recreation-site information before departure.
Make one final pass through the relevant forest’s alerts, closure orders and road-condition pages. If a critical connecting road has unclear status, ask the ranger district about that road number and your planned date. Save the answer and the relevant closure map for offline reference. Follow current signs and closure instructions on the ground.
Put the date of your last check in your trip notes. That makes an older screenshot easier to recognize when someone in the group forwards a more recent notice.
Download the area around your route
Include the main route, approach roads, planned camps and alternate exits in your downloads. A thin strip around a track offers little help if a gate forces you to return by another valley. Check that neighboring map sheets overlap where your trip crosses their boundaries.
Record which map layers you actually saved. Terrain, satellite imagery and access overlays may have different offline support or subscription requirements. For example, Avenza’s current basemap documentation says its satellite imagery cannot be downloaded for offline use. Seeing a layer while connected does not establish that it will be available in camp.
Open each saved route and map at the detail level you expect to use at junctions. Check road numbers, labels and map edges rather than only the broad overview.
Verify the downloads, then rehearse offline
First use your app’s download-status screen to confirm that every required map finished saving. Then disable cellular data and Wi-Fi and practice opening your route, finding a waypoint and inspecting an alternate exit.
That second check is useful, but it cannot prove everything was permanently downloaded. Gaia GPS warns Android users that recently viewed, cached map tiles can remain visible in airplane mode even when a download is incomplete. Verify the saved-map status as well as what appears on screen.
Also test location outdoors. Confirm that the device has the necessary GPS hardware and location permissions. Avenza’s location guide notes that some tablets lack a built-in GPS receiver. A device that displays maps successfully at home may need additional equipment to show your position away from Wi-Fi.
Write a short route card
Create a one-page summary that another person can understand without opening your app. Include:
- The starting point, destination and main road numbers.
- Planned overnight locations and permitted alternatives.
- Fuel stops and the last reliable resupply point.
- Two or more decision points where turning around remains straightforward.
- An alternate exit and the conditions that would trigger its use.
- Your expected return and agreed check-in arrangements.
Use plain location names alongside coordinates. Agree on the coordinate format before sharing it. In a group, confirm everyone received the same revision, then keep a copy accessible outside the navigation app.
Make the backup genuinely useful
Carry a physical map, a way to keep it dry and charging equipment you have already checked. The National Park Service’s Ten Essentials recommends a physical navigation backup, spare phone power and telling someone where you are going and when to expect your return.
If map symbols and compass terms are unfamiliar, Camping Store Deals’ map-and-compass navigation basics is an introductory refresher. Practice with the map and compass you will carry before relying on them away from the vehicle.
Practice locating a junction on paper before the trip. Keep your charging cable and power bank where you can reach them without unpacking camp. If the map, conditions or access signs disagree, stop somewhere safe and resolve the uncertainty. The best route plan leaves enough time and flexibility to take the longer way home.